Vela Colors
Many color settings in Reach are customizable, with clear self-explanatory names in the settings. Click on a swatch to edit the colors. A popup with a color selector will appear, which allows you to adjust and experiment with custom colors.

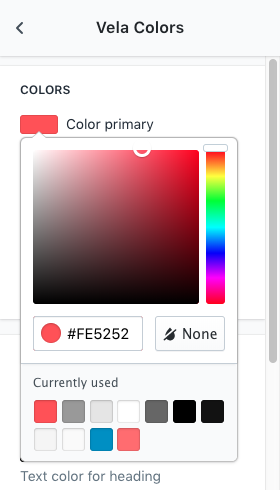
Color select box
The label on the right signifies "transparent", while the box to the left represents the color you've selected. You can also enter a specific color hex code in the bottom right corner if you wish (e.g. #ff4000). This is handy for matching precise colors across your store. For instance, if you want to match your Text color primary, you could copy the hex code from the former and place it in the field for the latter. The below shows the list of colors you have recently used for your store.
Vela Typography
Our themes comes with a config of hand-picked fonts for your store. You can use google fonts or your custom fonts. Font size can be set for your store by using range slider.

Our theme will use two fonts.
- Font Family: Body text fonts
- Font Family Secondary: Menu text fonts or sometimes use in our theme for heading.
To use a new font you need to follow the steps below.
1. Use google fonts
Google Fonts make it easy to bring quality typography to your online store. All Google Fonts are open source. This means that you are free to use them in your Shopify store.
a. Choose a font and copy the link code
Visit Google Fonts.
Use the search and filter functions to find a font you want to use in your Shopify online store.
Click the plus button for each font style that you want.
Click (x) Families Selected at the bottom of the page to view the fonts you have selected.
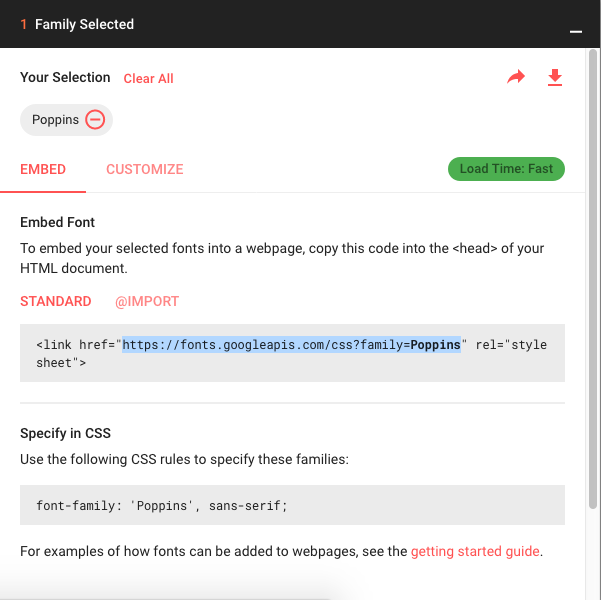
Copy the href url in the Standard area by highlighting it and pressing ctrl + C on a PC or command + C on a Mac.
b. Add the link code to your theme
In a new browser tab, open your Shopify admin.
From your Shopify admin, go to Online Store > Themes.
Choose tab Theme settings and open panel Vela Typography
Paste the code you copied from Google Fonts in input Google font URL
Enter the Google Fonts name in the textbox Fonts name
2. Use custom font
You do not need to repeat the operation as above with the Font family secondary, if you just want to use a common font.
Choose Custom font in Font style
Enter the Google Fonts name in the textboxFonts name
Vela Features
On the Vela Features, you can customize the main features of the theme. You can enable/disable and config for each features.

1. Theme settings
a. Favicon image: Upload favicon image, and have a .png extension.
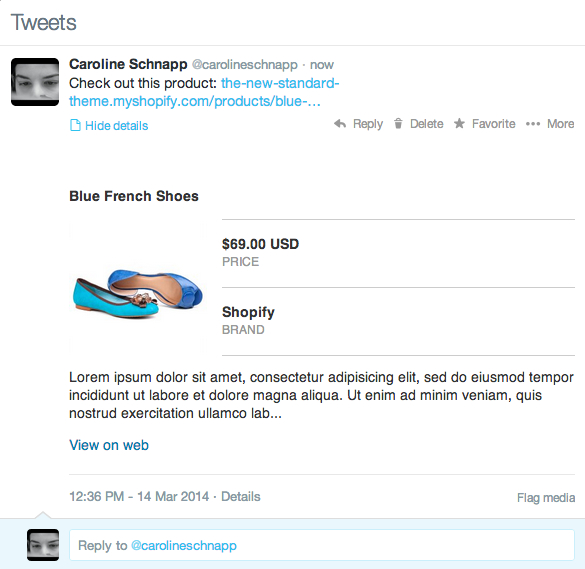
b. Twitter Link: This is features Twitter Cards. Enter your Twitter link to textbox.
Twitter Cards make it possible for you to attach media experiences to Tweets that link to your store content. Simply add a snippet to your theme, and visitors who Tweet your products and blog posts will have an attractive “card” added to their Tweet that will be visible to all their followers.
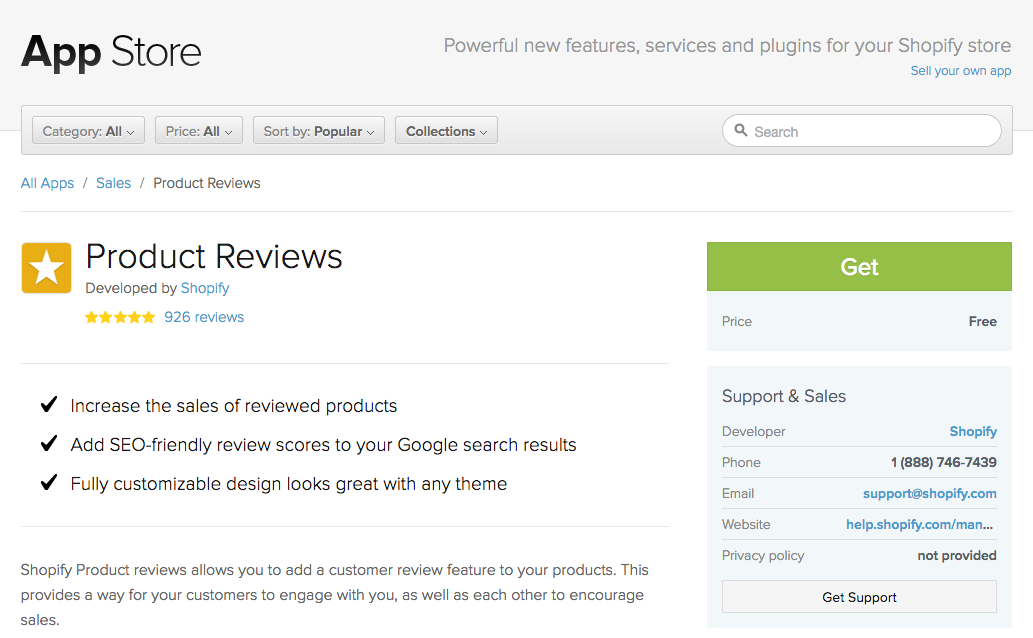
2. Product reviews
Enable/disable product review app. You need to install the app into your store to use.
2. Product box item
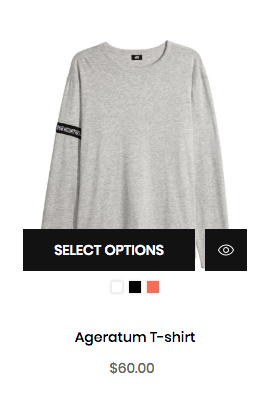
a. Type: Product box item will display corresponding to the type you have selected. Some themes will not have this feature.
Example:
- Type one
- Type two
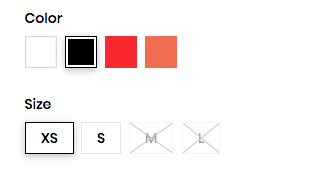
b. Show color variant: Show/hide box color on product box item
c. Show product type: Show/hide product type on product box item
d. Show review: Show/hide start review on product box item (Product review feature requests must be enabled)

e. Show short description: Show/hide product short description on product box item
f. Show label sale: Show/hide label sale on product box item
2. Loading site
Enable/disable loading icon when access to website.
3. Float header
Enable/disable sticky header.
4. Go to top
Enable/disable button Go to top.
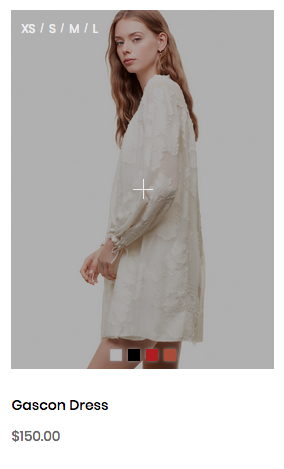
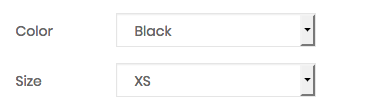
5. Product variants
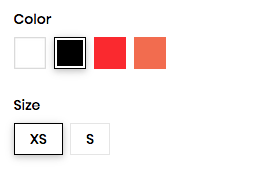
a. Show unavaiable: Select if you want to display variants that are out of stock.
- Select
- Unselect
b. Use swatch: Select if you want use swatch variant.
- Select
- Unselect (Dropdown menu)
6. Second product image
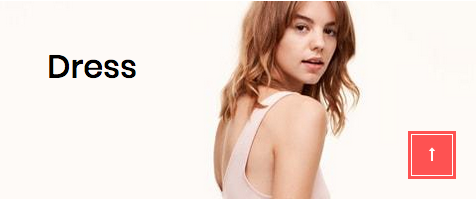
Show/hide product image when hover to product box item.
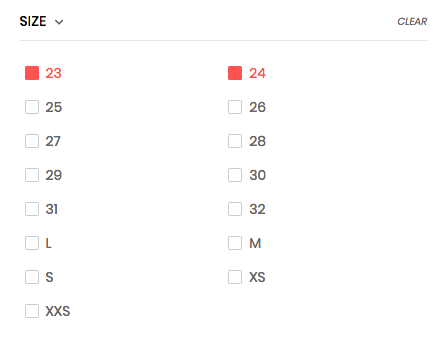
7. Filter collection site
Enable multiple choices: Enable/disable allow multiple choices tag on Filter by tags on collection page.
You can choose both size 23 and 24 as image below.
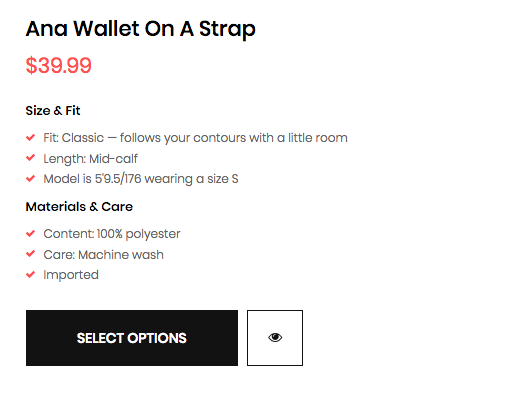
8. Product quickview
Enable/disable and config product quickview on product box item.
a. Show availability: Show/hide product availability on product quickview box.
b. Show vendor: Show/hide product vendor on product quickview box.
c. Show product type: Show/hide product type on product quickview box.
d. Show product SKU: Show/hide product SKU on product quickview box.
9. Ajax cart
Cart on your store's, when customer add to cart.
a. Cart type: Choose cart type displayed when add product to the cart
b. Show cart notes: Show/hide cart notes on cart.
c. Show product vendor: Show/hide product vendor on cart.
- Modal
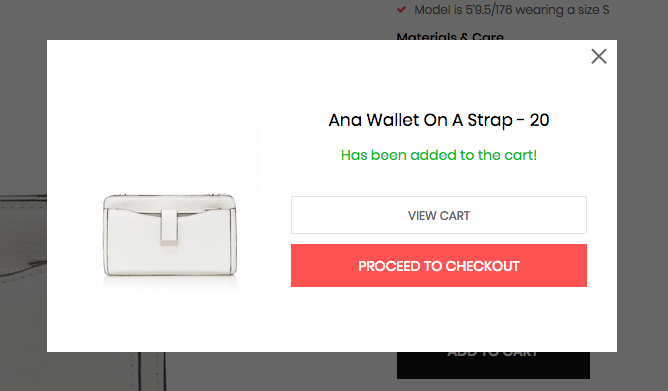
- Drawer
- Page
Vela Currency
Vela Currencylets you provide a selector menu that lets customers view your prices in different currencies. Their currency selection will be stored in a cookie and used again on their next visit to your store. In the config, you can choose which currencies you want to show in selector menu.
Exchange rates used by Shopify are refreshed twice a day based on the rates at XE.com. Although rates are automatically scheduled to be updated at 00:00 GMT and 07:00 GMT, the updates might take place up to a couple of hours after their scheduled time.
No matter what currency you show on store pages, Shopify will always process orders in your store's operating currency.
1. Edit your money formats
B1. From your Shopify admin, go to Settings.
B2. In the Standards and formats section, find the Currency setting:
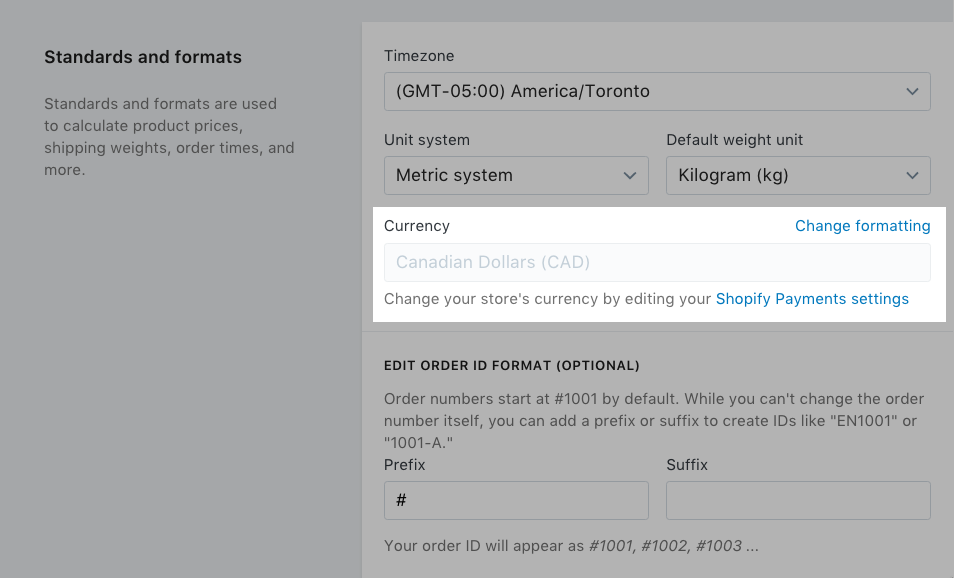
B3. Click Change formatting.
B4. Find the HTML with currency and the HTML without currency formats:

B5. In each text field, copy and paste <span class=money> in front of the formatting text.
Note: Do not put quotation marks around the wordmoneyin thespantags. Adding quotes will break the code.
In each text field, copy and paste </span> after the formatting text:
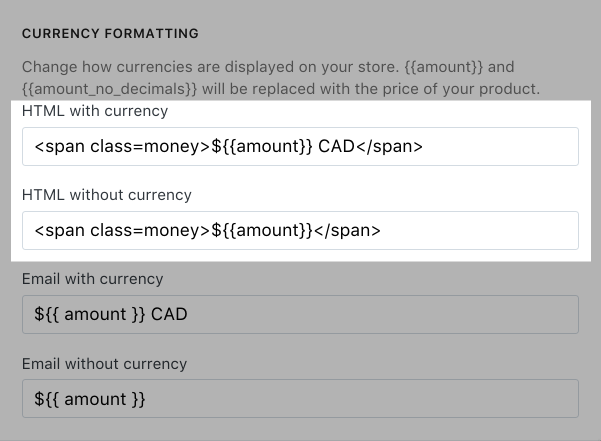
You might notice that by default the original HTML without currency field does not include a currency descriptor, such as USD or CAD. For this tutorial, we recommend that you do add the descriptor, to avoid any confusion between currencies later.
Place the
spantags in the HTML with currency and HTML without currency text fields only.Do not place the tags in the Email with currency or Email without currency text fields.
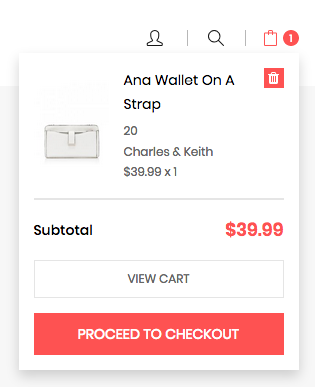
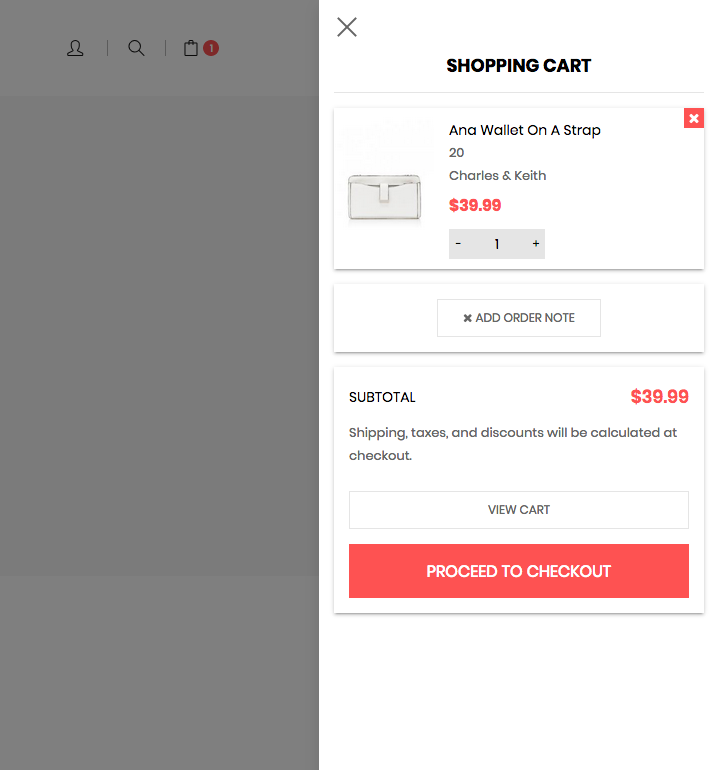
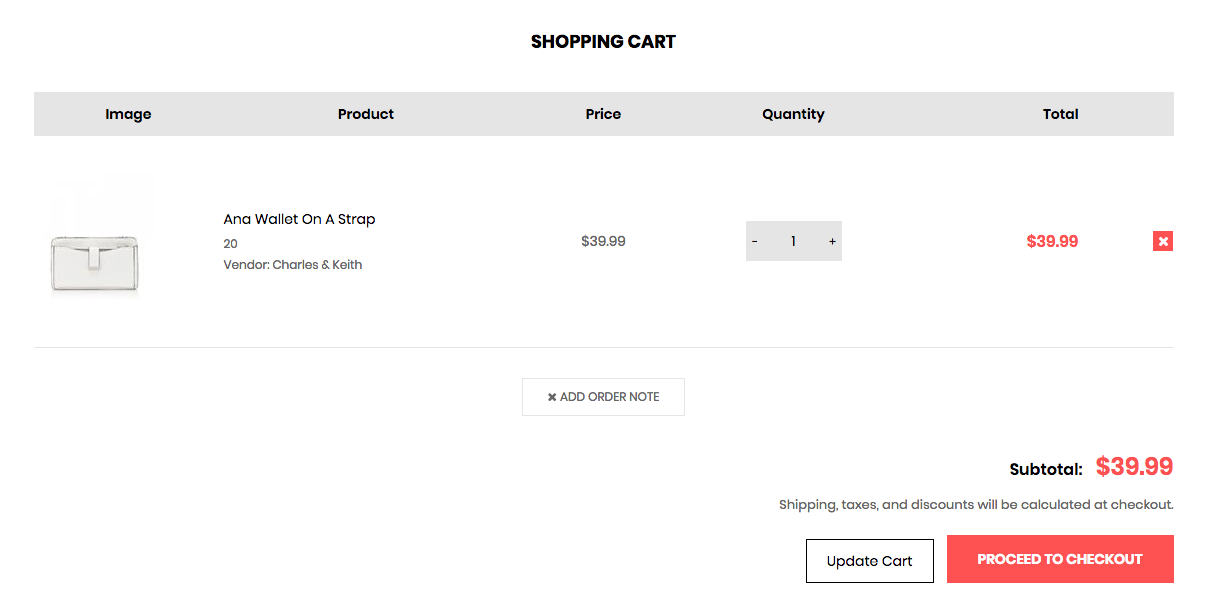
Checkout
Under the Checkout section of the theme editor, you can add custom banner images, logos, and backgrounds, as well as customize the fonts and colors used throughout the checkout process.
This is the default configuration of Shopify. You can read more here.
