General
When you first install our theme, some homepage sections are already visible — namely the header and footer, which are standard for any online store.
Each of these sections associates to “empty state” placeholder content in the preview. These preview the formatting for each section.

Clicking on any of these section blocks will bring up a set of unique configuration settings. You can also click Add section, which will reveal an array of other optional sections that you can add to your homepage.
At the very bottom of each section's settings there is a Theme settings link, which you can expand to reveal additional settings that pertain to that section. Note that many of these theme settings affect elements beyond that specific section, so be careful with the changes you make here. These will be explored in depth in the article, Theme Settings.
Slideshow
The Slideshow section is a great place to show off new items, offers, and sales in your store. This section will appear beneath the Header section in your store.
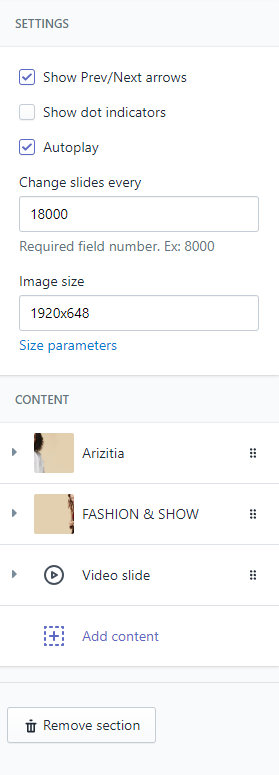
1. Settings
You can set Show Prev/Next arrows to display navigation for slideshow. You can set the Autoplay and duration of the slide with the textbox below.
Note: You should upload the image in size in the textbox. You can also change the image size in the text box.
2. Content
The content on the Slide image is very flexible with customizable Text, Link and Colors.
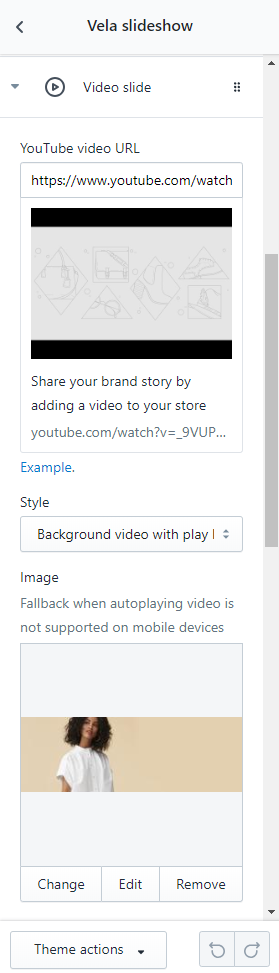
You can also add video in the slideshow. You choose add content video and enter Youtube video URL.
Product List

The section is designed to draw attention to products from a specific collection on your homepage. With this section you can display multiple products from one collection.
1. General settings
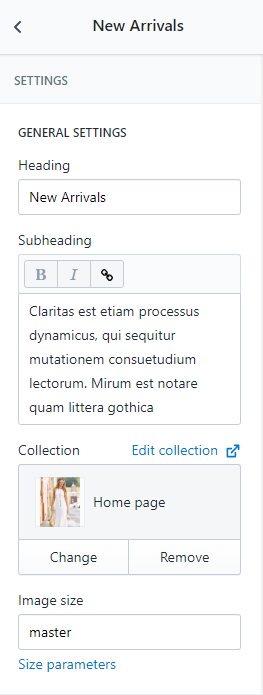
- Heading: Section heading
- Subheading: Section subheading
- Collection: Choose a specific collection that you want display products.
- Image size: You can read more here
2. Carousel settings
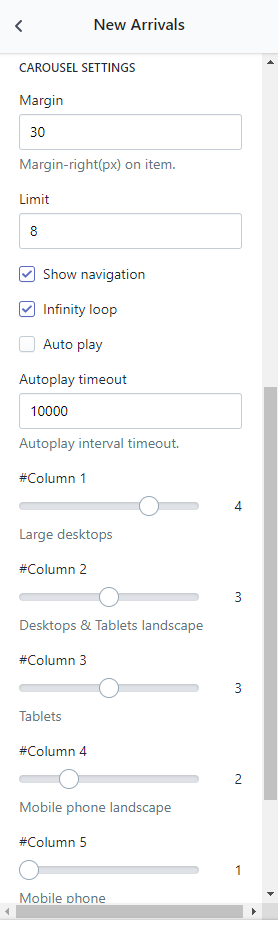
- Margin: Distance between columns
- Limit: Number of products to displayed.
- Show navigation: Choose to display navigation arrow for carousel
- Infinity loop: Active infinity
- Column: Choose column product on a row.
Newsletter

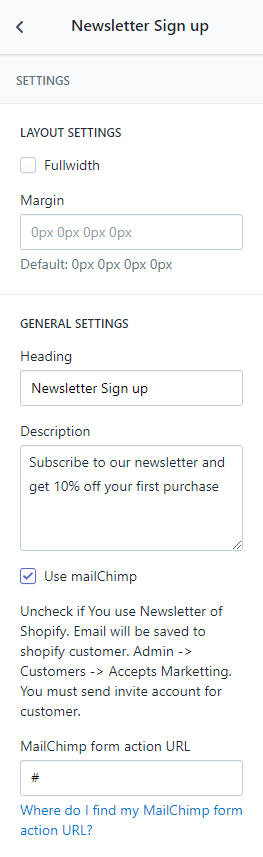
Settings
- Heading: Section heading
- Description: Section description
- Use mailChimp: You can use mailchimp or shopify system. If you use mailchimp, you need input mailchimp form action URL.
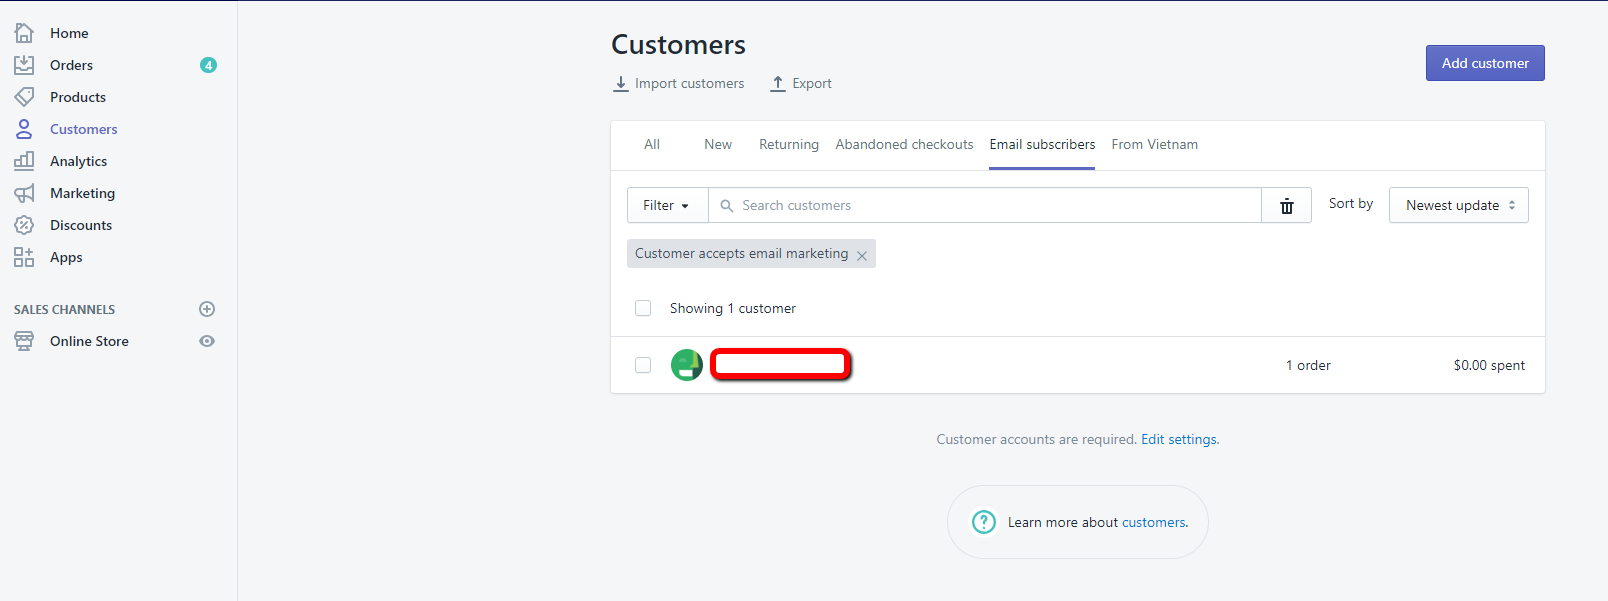
1. Shopify system
You can find the email of registered customers in the customer management.
From your Shopify admin, go to Customers > Email subscribers
2. Use Mailchimp
You need enter mailchimp action URL.
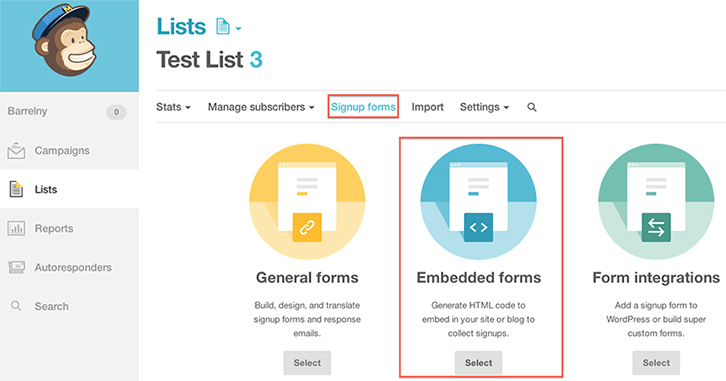
B1:Login to your MailChimp account, and create a mailing list for people to sign up for.
B2:After you make your list, you’ll need to get some code from it. Click on your list, and select “Signup forms” at the top. Select the Embedded forms option.
B3:From there, you should see a text box section labeled “Copy/paste onto your site”. Within the textbox, scroll until you find the part of the code that says